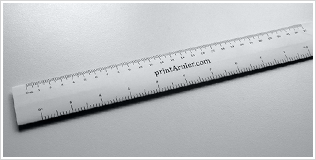
Watch the demonstration video
Before you begin
This guide can be used to fold both the Letter and A4 version of the ruler since the same steps apply to both rulers. For this demonstration the A4 ruler was printed on a normal piece of 80gsm paper.
Before you begin place the paper in front of you on a flat surface with Step 1 positioned in the lower left corner.
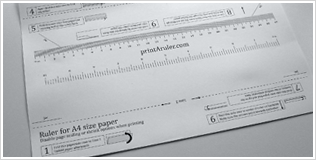
Step 1
Fold the side of the paper nearest to you over to Line 1. Make sure you get a sharp paperfold by running your nail or a pen along the paperfold to flatten it. Afterwards unfold the paper.
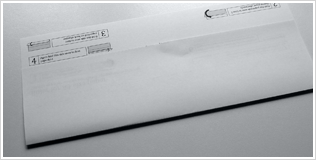
Step 2
Rotate the paper 180 degrees so Step 2 can be read. Similar to Step 1, fold the side of the paper nearest to you over to line 2. Again, make sure you get a sharp paperfold by running your nail or a pen along the paperfold to flatten it. Afterwards unfold the paper.
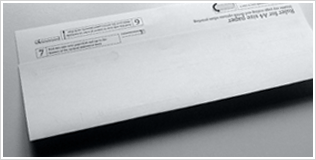
Step 3
Without rotating the paper, flip the paper so the back is facing upwards. You will clearly see the two paperfolds you already made. Fold the side of the paper nearest to you over to the first paperfold – that is the paperfold nearest to you (paperfold 1).
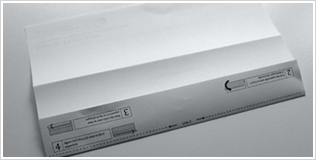
Step 4
The folded piece of paper you just made needs to be folded one more time so it becomes half as high. Do this by folding the already folded piece nearest to you over to paperfold 1.
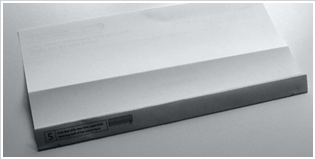
Step 5
To finish this side of the ruler, fold the double folded piece of paper from Step 3-4 over paperfold 1, so it covers around half the rulers back. Flatten the paperfold with your nail or a pen to keep the fold in place.
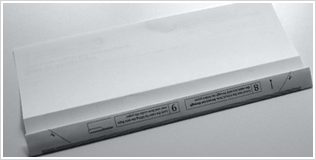
Step 6
Rotate the paper 180 degrees still with the back facing upwards. Fold the side nearest to you over to the middle of the ruler, to the point where it meets and lines up with the folded piece from step 5. Please make sure the two arrows are pointing towards eachother.
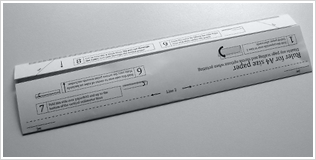
Step 7
Fold the side you just folded in Step 6 one more time, so it ends up underneath the vertical centimeter lines. Your will feel how the paper folds over the existing paperfold. Flatten the paperfold with your nail or a pen to keep the fold in place.
Step 8
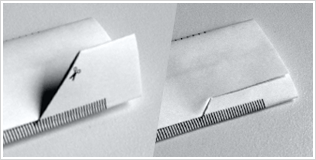
Locate the four black lines with sissors next to them. Cut or tear the lines carefully. Please do not cut through the entire ruler, but only throught the folded paper.
If you cannot cut the lines and have to tear them do this carefully. Grab as close as possible on each side of the line you want to tear. Gently tear the line as straight as possible.

Step 9
Cutting the slanted lines will create two paper ”flaps” on each side of the rulers back. The flaps should go over the opposite folded paper and then down through the two straight cuts so the paper ends underneath the opposite fold. This locks and keeps the ruler together.
Notice: The rulers have recently been changed slightly to make them easier to lock. The concept is still the same as seen in the picture.
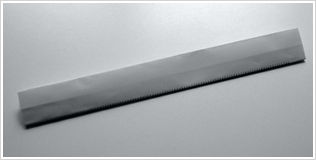
Your ruler is ready
Congratulations with your new ruler. If you want you can try it out on some of our graph paper.
| Download graph paper here |
